Physical Address
304 North Cardinal St.
Dorchester Center, MA 02124
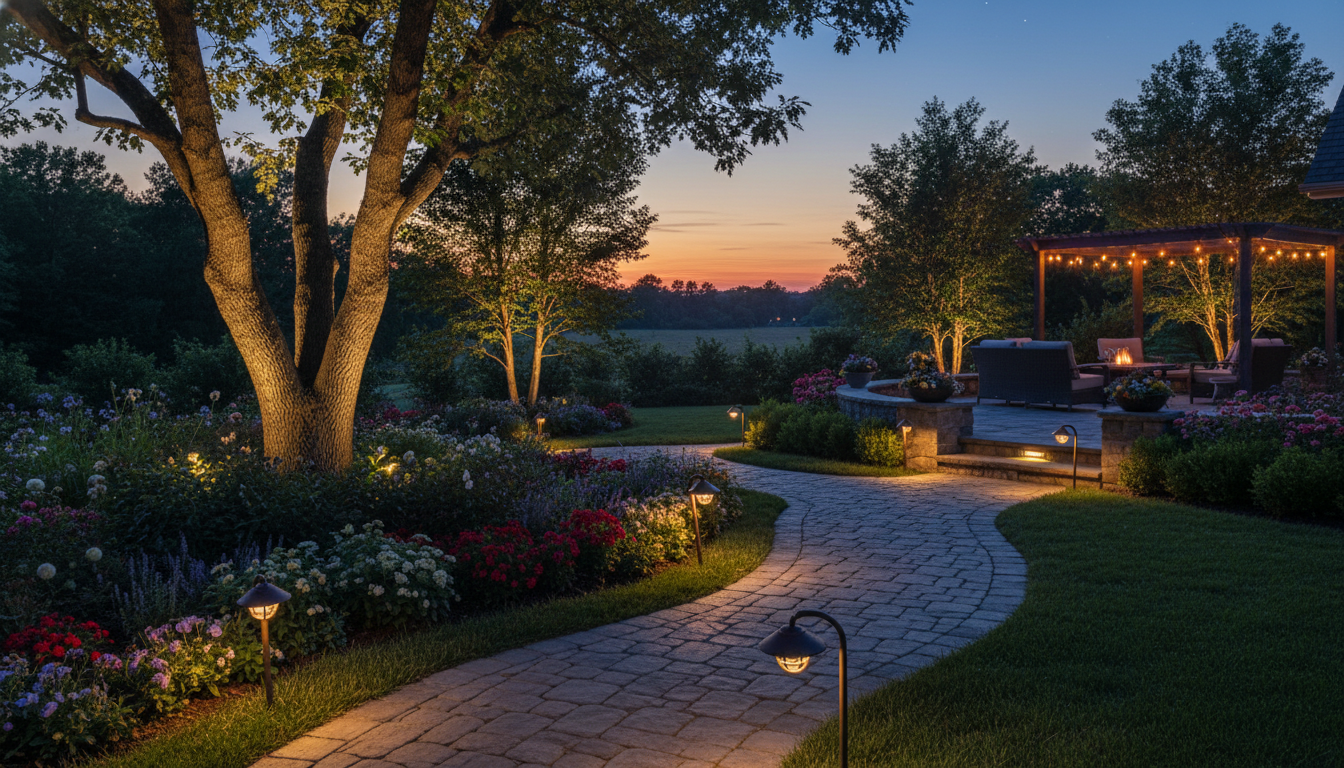
Imagine elevating your home’s evening charm while cutting energy use — smart design can give you dramatic results without a dramatic electric bill.
This guide walks you through low voltage outdoor lighting that turns ordinary yards into inviting evening retreats while keeping operating costs and safety top of mind. The right lights highlight your landscape, improve curb appeal, and increase home security.
Throughout, you’ll get practical advice on components, layout, and installation so the project feels doable even if you’re not an electrician. We’ll explain why modern LED fixtures are the go-to choice for bright, efficient results and how low voltage systems simplify both installation and long-term maintenance.
Quick example: replacing a typical 50W halogen with a 7W LED yields roughly a 86% reduction in wattage for that fixture — multiply that across multiple lights and the savings add up quickly.
For personalized help — transformer sizing, fixture selection, or a recommended parts list — call 888-497-9177 for a no-cost review of your options. The consultation covers fixture suggestions, transformer capacity guidance, and layout tips so you know what to order and how to install it safely.
Backyard Paradiso, a leader in outdoor lighting design, recommends starting with a dusk walkthrough to identify priorities before buying parts.
Transforming your yard after dark starts with understanding safe, low voltage systems — most residential projects use a nominal 12-volt setup powered by a transformer. (A transformer is a small device that steps your home’s 120V household current down to 12V so fixtures and cable run safely outdoors.)
Low voltage systems operate around 12 volts and rely on a transformer to convert household power. The lower voltage reduces shock risk near moisture and soil, and makes wiring simpler for landscape applications.
For most homes, a low voltage core provides the best balance of safety, efficiency, and flexibility. Line-voltage (120V) systems still make sense for very large estates or long commercial runs, but for typical residential landscape lighting, low voltage is the practical choice.
Three practical advantages stand out: lower shock risk, strong energy efficiency with LED fixtures, and easy expandability. You can often add or relocate lights as your garden changes without major rewiring.
Quick example: place your transformer in a protected exterior location near a GFCI outlet and run cable from there — typical residential layouts have the transformer near the garage or house wall to keep run lengths reasonable and minimize voltage drop.
Confirm local code before you DIY: some jurisdictions require a licensed electrician for the 120V-to-12V connection or have specific mounting rules for transformers. Backyard Paradiso recommends checking local regulations and transformer placement before starting, and offers a transformer-sizing checklist if you need one.
Well-planned low voltage lighting does more than add brightness — it changes how you use and enjoy your property after dark. Thoughtful illumination highlights features, extends usable hours outdoors, and improves safety.
A quality lighting design can turn an ordinary yard into a warm, inviting evening retreat that you and guests want to spend time in. It also boosts curb appeal and can make your home feel more valuable to prospective buyers.
Accent and uplights draw the eye to architectural details and specimen plants that disappear at dusk. Layered lighting—combining path, accent, and ambient fixtures—adds depth and drama without overwhelming the scene.
Visual example: run path lights 8–10 feet apart for a gentle guide along walkways, then add low-output accent fixtures (200–400 lumens) to uplight trees or focal features.
Practical placement matters: illuminate steps, entryways, and transitions to reduce trips and falls. Bright, well-directed LED lights also reduce dark hiding spots and contribute to a safer-feeling property—lighting is one of several effective deterrents used in crime-prevention strategies, though it’s not a guaranteed solution on its own.
Want to see real installations? Check our photo gallery for before-and-after examples to help plan your project (link placeholder). Backyard Paradiso’s design team can also review photos of your yard during a complimentary consultation.
Picking the right parts for your garden’s glow starts with two core decisions: the lamp technology and the power source. Make solid choices here and you’ll enjoy years of reliable, attractive low voltage lighting.
LED is the clear winner for most landscape applications. LEDs use far less energy, run cooler, and last many times longer than halogen or incandescent options.
Investing in quality light from the start saves hours and replacement costs down the road.
Quick comparison (rule-of-thumb): LEDs typically offer 25,000–50,000 hours of life versus ~2,000 hours for halogen. They consume a fraction of the wattage for equivalent lumen output, so total energy use and maintenance drop dramatically.
| FeatureLED BulbsTraditional Halogen | ||
| Energy Use | Very low | High |
| Average Lifespan | 25,000–50,000 hours | ~2,000 hours |
| Heat Output | Minimal | Significant |
| Total Cost of Ownership | Lower over time | Higher with replacements |
Many leading manufacturers (for example, VOLT) ship kits that use LED fixtures exclusively. If you prefer a simple start, a pre-configured pack includes lights, cable, a transformer, and connectors — a fast way to get started with reliable parts and often quicker shipping.
The transformer is the system’s backbone — it converts household 120V down to safe 12V. A common recommendation is to size the transformer at about 20–30% above the total wattage of your planned fixtures to avoid overloading and give room for future expansion.
Transformer-sizing example: 6 fixtures × 7W LED = 42W total. Multiply by 1.3 for a safety margin → choose a 55–60W transformer (round up to the nearest common size such as 60W or 75W).
Use quality connectors, direct-burial rated cable, and durable fixture materials (brass or bronze finishes are popular for longevity and appearance). Also consider features like built-in timers, photocells, or multi-tap transformer terminals for easy zoning.
Backyard Paradiso recommends requesting a parts checklist before you buy — a short parts list (fixtures, transformer size, wire gauge, connectors) prevents costly mistakes and helps you compare options.
Before you dig a single trench, map out your evening vision. Start with a dusk walkthrough to reveal which areas need safe illumination and which features deserve creative highlights — this simple step prevents costly changes later.
Look for natural walking routes, steps, and potential trip hazards; these are top priorities for path light placement. As a rule of thumb, space path lights roughly 8–10 feet apart for a gentle, continuous guide, but verify spacing against the fixture’s lumen output and beam spread — narrow-beam lights may need closer spacing, while wide-beam fixtures can be farther apart.
Example: for a narrow garden path, use 8 ft spacing with 50–100 lumen path lights; for a wider, formal walkway, 10 ft spacing with 100–150 lumen fixtures creates a balanced look without a runway effect.
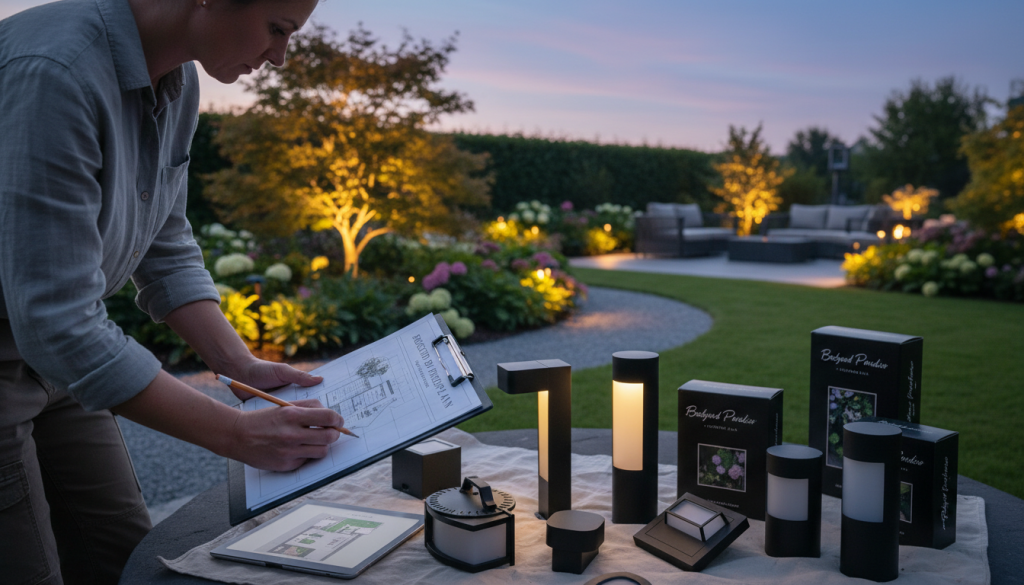
This is where creativity comes in. Use LED spotlights to uplight specimen trees or architectural details and consider sightlines from inside the house and from the street. Layer different types of light — path, accent, and ambient — to balance safety and atmosphere.
| Light TypePrimary FunctionIdeal PlacementCreates This Effect | |||
| Path Light | Safety & Navigation | Along walkways, ~8–10 ft apart (rule of thumb) | Guides movement naturally |
| Accent Light | Highlight Features | At base of trees, architectural elements | Drama & focal interest |
| Ambient Light | Mood & Atmosphere | General area illumination | Warm, welcoming glow |
Sketch a rough plan marking fixture locations, estimate run lengths for transformer sizing, and note which fixtures are for function versus ambiance. Backyard Paradiso’s design team recommends starting with a dusk walkthrough and saving photos — these make an easy checklist when you order parts or request a layout review. If you want a plotting template or downloadable checklist, include that in your next draft or link it as a CTA.
Many projects stall because key steps are skipped. A methodical installation protects your investment — low voltage systems are safer by design, but correct installation ensures long-term reliability and peak performance.
Follow the checklist below and you’ll avoid common mistakes that cause dim lights, flicker, or early failures.
A secure connection today prevents a dark path tomorrow.
If you’d like an illustrated installation checklist or a voltage-drop worksheet, request the downloadable pack when you call for a consultation — many suppliers also offer fast shipping for missing parts.
Shopping for garden lights generally follows two paths: choose a pre-bundled kit for simplicity, or build a custom system for maximum control. Below is a quick guide to help you pick the best option for your property.
Pre-bundled kits are ideal if you want an easy, predictable start. A typical pack includes a transformer, a set of LED fixtures, direct-burial cable, and connectors — everything sized to work together for a specific task (for example, a pathway pack).
Pros of kits: lower upfront planning time, often better packaged pricing, and a single order that can ship quickly. Cons: less flexibility if your layout is unusual or you want specialty fixtures.
Custom solutions let you select each component — fixture styles, finish, lumen output, and exact transformer capacity — so they’re better for unique landscapes or staged upgrades. Pros: precise control and future-proofing; cons: more design time and parts to source.
Many suppliers offer fast shipping options to get missing parts quickly; verify same-day shipping policies with your chosen vendor rather than assuming it’s guaranteed.
Planning tip: pick a transformer with extra capacity so you can add a flood light or additional path lights later without rewiring.
Decision checklist: 1) Is your layout simple or complex? 2) Do you prefer instant simplicity (kit) or custom control? 3) Will you expand later (choose a larger transformer)? If you’re unsure, call for a quick recommendation — an expert can tell you whether a pack or custom approach is best for your landscape and budget.
A cozy backyard and a busy commercial plaza have very different priorities. Match the system to the site: residential projects emphasize ambiance and safety, while commercial installations prioritize wide coverage, durability, and code compliance.
Homes typically focus on creating a warm, inviting atmosphere that highlights garden features and keeps walkways safe. Commercial settings require robust fixtures and higher output to light parking areas, building exteriors, and public walkways reliably over long hours.
Each technology serves distinct needs — choose based on scale, access to power, and performance requirements:
| System TypePower SourceKey ProsKey ConsIdeal Application | ||||
| Low Voltage (12V) | Transformer & Wire | Safe, energy-efficient, DIY-friendly | Run length limited by voltage drop (depends on wire gauge) | Residential outdoor & landscape applications |
| Solar | Sun & Battery | Wire-free, eco-friendly, easy to place | Light output and runtime vary with weather and battery capacity | Remote accents, temporary or off-grid lights |
| Line Voltage (120V) | Direct Household Current | High power, long runs without voltage drop | Requires professional install and heavier infrastructure | Commercial sites, large estates, long-run requirements |
Most homes do best with a low voltage core for reliable landscape lighting; add solar for isolated spots and reserve line voltage only where long runs or high output make it necessary. Remember: “limited run length” for low voltage is manageable with correct wire gauge and transformer placement — see the voltage-drop guidance section for planning details.
Two technical specs—color temperature (Kelvin) and brightness (lumens)—determine whether your yard feels warm and inviting or harsh and clinical. Choosing the right combinations makes your low voltage landscape lighting feel intentional and cohesive.
Quick note: lumens measure light output (brightness), while watts measure energy use. With LEDs, you get many more lumens per watt than with halogen, so focus on lumens when selecting fixtures.
Color temperature (K) describes whether light looks warm (yellow) or cool (blue). For most landscape applications, 2700K produces a warm, inviting white that flatters wood, stone, and foliage. Use 2200K for intimate seating areas that benefit from candlelike warmth. Reserve 4000K or higher for modern architectural highlights where a cooler look is desired.
Match lumens to the task—more light isn’t always better. Here are practical guidelines (rule-of-thumb):
Keep color temperature consistent across fixtures (typically 2700K) so the entire outdoor space reads as one design. When planning transformer locations and run lengths, remember that fixture output and placement affect how many lights you need and where the transformer should sit—shorter runs reduce voltage issues and may allow you to use lower-gauge cable. If you need parts quickly, check supplier shipping options when ordering replacement or additional led outdoor fixtures.
Modern LED technology can dramatically reduce your garden’s energy use while delivering brighter, more consistent illumination. For most low voltage landscape setups, switching to LEDs is one of the fastest ways to cut operating costs and maintenance time.
This is more than a small upgrade—it’s a change in how you power your property’s nighttime charm.
Quality led outdoor fixtures typically use 75–80% less electricity than comparable halogen lamps. For example, replacing a traditional 50W halogen with a 7W LED reduces wattage by about 86% for that fixture. To make this tangible: if a fixture runs 5 hours per night, the halogen uses 50W × 5h = 250 Wh/day (~91 kWh/year), while the 7W LED uses 7W × 5h = 35 Wh/day (~13 kWh/year). At $0.15 per kWh, that single fixture saves roughly $11–12 annually—multiply across multiple lights and the payback period for new fixtures is often just 2–3 years.
LEDs also run cool and last far longer (commonly 25,000–50,000 hours), so you replace bulbs far less often and avoid frequent ladder work.
Choosing led outdoor options lowers energy consumption and associated carbon emissions. Fewer replacements mean less waste and lower maintenance emissions from service calls. Because low voltage led fixtures are more efficient, you can run more lights on a single transformer (within its rated capacity), which helps reduce infrastructure complexity and overall material use.
Practical tip: size your transformer with a safety margin (20–30% extra capacity) so you can add lights later without oversizing wiring. If you want quick replacement or additional parts, check supplier shipping options—fast shipping can keep a staged upgrade moving smoothly.
Want to see exact savings for your layout? Use a simple ROI calculator (hours/day × fixture watts × number of lights × cost per kWh) to estimate annual kWh and dollar savings, or request a payback worksheet when ordering your pack or parts.
Think of your property’s after-dark look as a canvas. Technical planning meets personal taste here—mix fixture types and finishes to create a signature atmosphere that fits your home.
Layering lights—path, accent, and flood—adds depth and drama. The right combination turns functional illumination into a memorable evening experience.
Use a path light to guide walkways and safely mark changes in grade. Accent spotlights work well to uplight a specimen tree or highlight architectural details. A flood light (or flood fixture) provides broad area illumination on patios, walls, or large lawn spaces.
Positioning matters: experiment with angles and distances before finalizing mounts. Small adjustments change shadowing and how features pop at night.
Match your led landscape fixtures to the home’s style—bronze or brass finishes suit traditional houses, while graphite or black finishes fit modern exteriors. Consistent finishes across fixtures create a cohesive look.
| Fixture TypePrimary FunctionBest PlacementCreates This Effect | |||
| Path Light | Safety & Guidance | Along a garden path, ~8–10 ft apart (rule of thumb) | Welcoming, navigable route |
| Accent Light | Highlight Features | Base of trees, near sculptures | Drama and focal points |
| Flood Light | Broad Illumination | Against walls, across patios | Wide, even light for security or ambiance |
Before you finalize placement: do a dry run—tape lights in place or stake them temporarily, take photos from common viewpoints, and test different beam angles. A simple “before you install” checklist (test angles, photograph views, confirm finish choices, verify transformer capacity) helps avoid costly changes.
Mini layout example: front entry—one accent uplight (200–300 lm) on the entry tree, two path lights (50–100 lm) spaced 8 ft apart on the walk, and a 700-lm flood light for broad patio coverage. Order any missing parts with fast shipping if you’re staging the project in phases.
Turn your parts list into a polished, reliable lighting system by starting with a simple dry run. This prevents layout mistakes and saves time — and lets you confirm spacing, sightlines, and fixture styles before committing to trenches or permanent connections.
If you need missing parts mid-project, check supplier shipping policies — many vendors offer fast shipping options to keep work moving.
Helpful guideline: consult manufacturer wire-gauge tables for run-length thresholds (or use a voltage-drop calculator). Photograph your cable routes and label connection points — this documentation simplifies future maintenance or expansion. If you’d like an illustrated troubleshooting flowchart or an installation checklist, request the downloadable pack when you order parts or call for support.
You don’t have to design your garden’s perfect glow alone—expert help is a phone call or message away. Our team has guided hundreds of homeowners through low voltage landscape projects, turning uncertainty into clear next steps.
For personalized assistance, call 888-497-9177 to schedule a complimentary review. During the call we’ll review photos or a sketch of your property, confirm run lengths, recommend fixture types and transformer sizing, and outline parts and estimated costs so you know which options to order.
This free consultation covers fixture selection, transformer capacity guidance, and a suggested parts list to prevent costly mistakes and ensure your layout avoids voltage-drop issues.
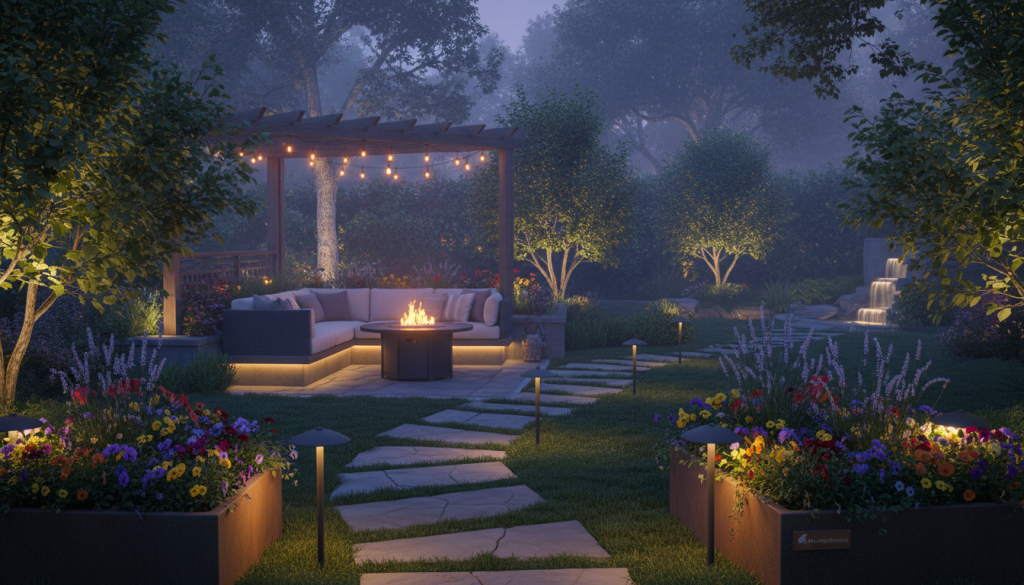
Our support hours: Monday–Friday, 8 AM–8 PM EST; weekends 10 AM–6 PM EST. If you prefer email, include photos and rough dimensions and we’ll reply with a starter plan and parts checklist.
| ServiceAvailabilityKey Benefit | ||
| Phone Consultation | Mon–Fri 8am–8pm EST | Immediate expert advice |
| Design Review | By appointment | Custom plan for your property, including low voltage LED options |
| Technical Support | Ongoing | Help with installation, troubleshooting, and expansion |
| Fast Shipping | Check vendor policies | Get parts quickly to keep projects on schedule |
We explain technical terms in plain language—things like voltage drop, lumen output, and transformer taps become simple to act on. After your review we’ll email a short parts list and recommended transformer size so you can order the correct pack or individual lights.
Many suppliers provide fast shipping options; confirm same-day shipping cutoffs with the vendor when you place your order. Whether you want to expand later with additional lights or add a flood light for broad coverage, we’ll help you plan capacity up front so future additions integrate smoothly.
Backyard Paradiso’s experts are available for your complimentary review—call 888-497-9177 to discuss your outdoor lighting options and get a clear, actionable plan.
Your journey to a stunning nighttime landscape is within reach — armed with the knowledge to make practical, beautiful choices for low voltage outdoor lighting.
Modern led landscape systems deliver long life and major energy savings. If you want simplicity, a pre-configured pack can get you started quickly; confirm supplier shipping options so parts arrive when you need them.
Good planning matters: size your transformer correctly, space path light fixtures for safe navigation, and pick finishes (bronze or brass are classic and durable) that match your home.
Next steps: 1) Take photos of the areas you want to light; 2) Note run lengths and access points; 3) Call now to schedule your free review at 888-497-9177. Backyard Paradiso and our experts are ready to help you choose the right options and create a clear parts list so your outdoor lighting project goes smoothly.
