Physical Address
304 North Cardinal St.
Dorchester Center, MA 02124
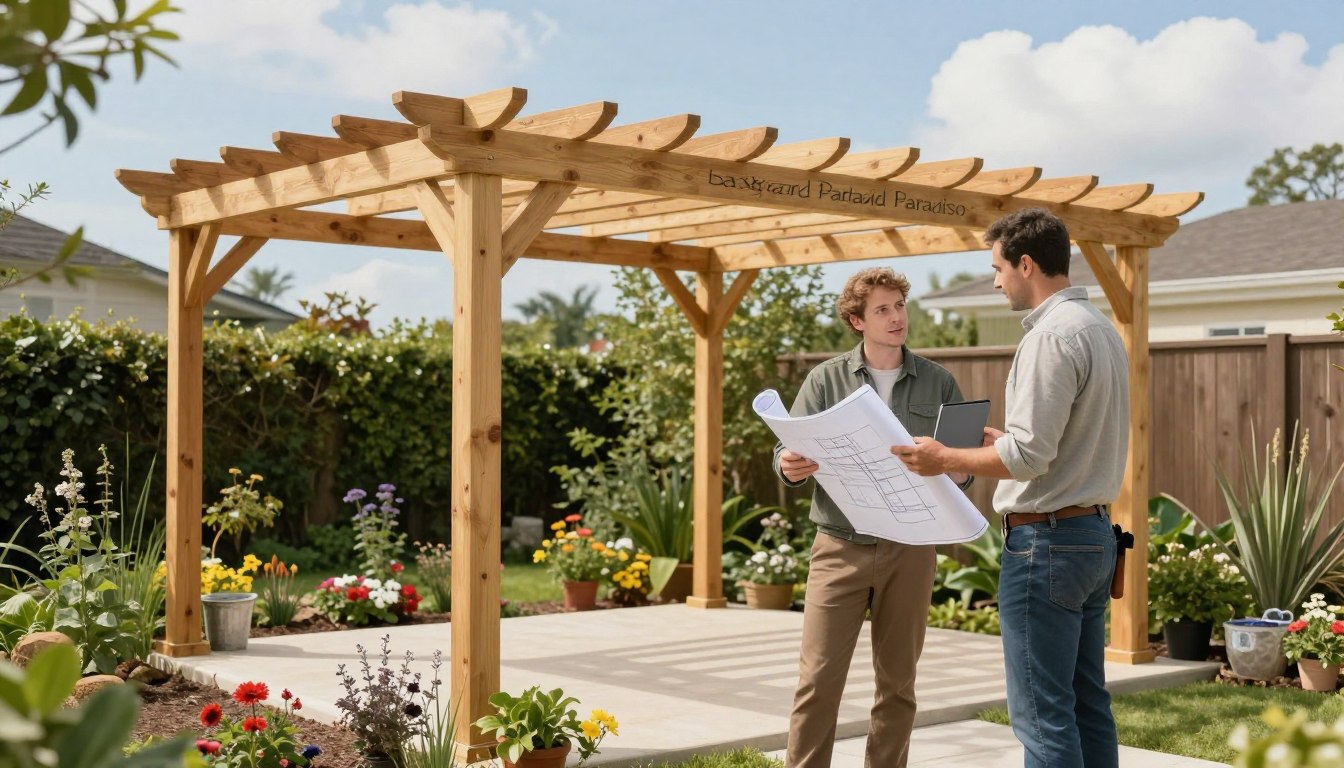
What if your backyard could become a perfect retreat without a huge budget or professional crew?
Many homeowners believe creating a beautiful outdoor living area is complex and expensive. This guide challenges that idea.
We provide a clear, step-by-step path. You will get expert information covering every phase of the process.
This includes initial planning and site selection. It also covers assembly, anchoring, and those important finishing touches.
Understanding the process helps you make smart choices. This is true whether you tackle it yourself or hire a pro.
Success depends on careful attention to details. Key factors are location, foundation preparation, and structural integrity.
You must also consider local building codes. This ensures a safe and durable structure for your family.
Our goal is to walk you through proven methods used by professionals. This helps you avoid common mistakes.
The result is an outdoor feature that adds value to your property. It also enhances your lifestyle for years to come.
Adding architectural definition and comfortable shade to your yard can be a rewarding do-it-yourself endeavor. Success starts with a clear plan. Measure your space, note sun angles, wind direction, and check property lines.
This outdoor framework provides filtered sunlight while maintaining airflow. It creates a dedicated “room” for dining or relaxing, which can increase your property’s value.
You also gain a supportive lattice for climbing plants or hanging accessories. This transforms a plain backyard into a personalized retreat.
The build involves key stages: planning, foundation work, post setting, and beam assembly. Each phase requires specific attention for a safe, lasting result.
Understanding sun movement and wind patterns at your site is crucial for optimal comfort and placement. These factors influence your design throughout the day.
With proper tools and a realistic skill assessment, two capable individuals can often complete a mid-size project in a weekend. Always follow manufacturer instructions and local building codes.
The foundation of a lasting outdoor structure begins with choosing the right spot and base. Your placement determines long-term safety and enjoyment. You must anchor the framework to a solid foundation capable of supporting weight and wind forces.
Always check your ground stability before starting. Look at soil composition and drainage patterns. Hidden utilities or poor soil can create hazards.
Stable surfaces include concrete slabs and properly prepared footings. Never build on loose pavers or areas with only sand underneath. These will shift and fail.
For an existing patio, verify what lies beneath the finished surface. A concrete pad at least four inches thick offers adequate support. Pavers over sand require removal and concrete footings at each post.
Attaching to a deck requires extra care. Posts must connect to structural beams within the frame, not just to the surface boards. Ensure the existing framing can handle the added load without sagging.
| Surface Type | Recommended Use | Key Requirement |
|---|---|---|
| Concrete Slab | Permanent installation on level ground | Minimum 4-inch thickness, proper curing |
| Soil with Footings | Yard installations without existing hardscape | Footings must extend below frost line |
| Existing Deck | Adding structure atop a raised deck | Attachment to load-bearing beams only |
| Unstable Ground | Not recommended | Requires full site remediation first |
Consult your manufacturer’s specifications for minimum surface requirements. A thorough site assessment prevents costly retrofits later. Also, ensure the area drains well to avoid water pooling around posts.
Your project’s success hinges on selecting a size and design that harmonizes with your property’s unique layout. This balance ensures both visual appeal and functional comfort in your outdoor living area.
Start by accurately measuring your available space. Account for clearances around doors, pathways, and property lines. A structure that’s too small looks insignificant and offers little shade.
An oversized one can overwhelm your yard. Common options range from compact 8’x8′ kits to expansive 36’x12′ configurations.
Standard post height is 8 to 10 feet. This provides 7 to 9 feet of beam clearance for hanging items and tall guests.
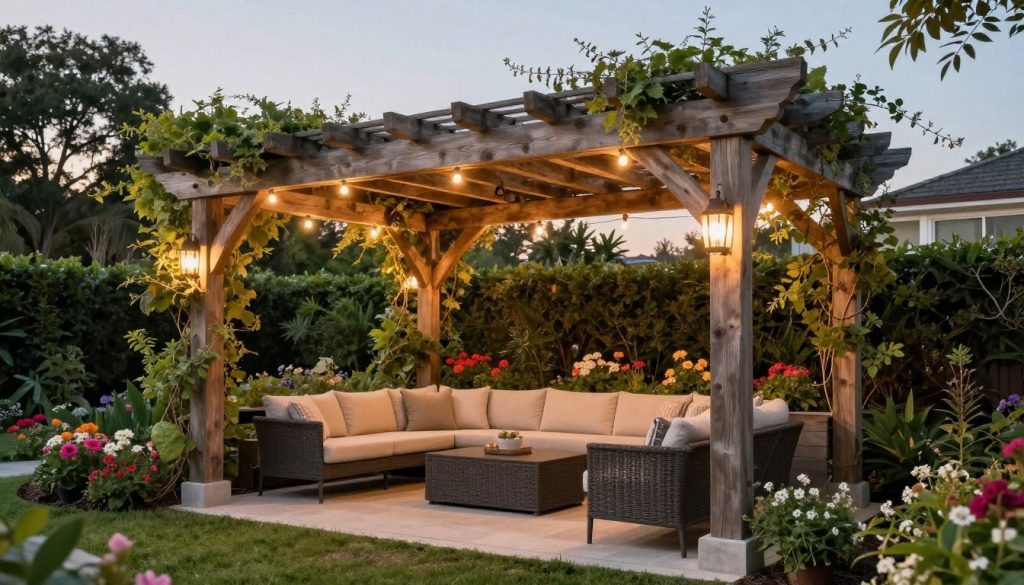
Existing trees, slopes, or utilities don’t have to stop your project. You can adapt by adjusting post placement or using custom beam lengths. Work with these features instead of removing them.
Creating a scaled site plan helps visualize the footprint. Note sun patterns to optimize shade coverage during peak use hours.
| Pergola Style Type | Common Post Length | Approximate Beam Clearance |
|---|---|---|
| Big Kahuna, Sombrero, Melbourne | 8 ft | 7 ft 5 in |
| Big Kahuna, Sombrero, Melbourne | 10 ft | 9 ft 5 in |
| Fedora Style | 10 ft | 8 ft 10 in |
Selecting the right style ensures adequate overhead clearance. It also maintains visual balance with your home’s architecture.
Before the first post is raised, meticulous groundwork sets the stage for decades of enjoyment. Many experienced installers do not handle this phase. You must arrange it independently.
Look for a company specializing in groundworks or a skilled handyman. Secure foundations prevent structural problems and premature failure.
Start by finalizing your structure’s size and obtaining a floor plan. This shows exact footplate locations. Mark these spots on your ground before any digging begins.
Corrections after concrete hardens are difficult and expensive. Follow the correct order of operations for a stable base.
The recommended method involves concrete pads. Each should be roughly 16x16x16 inches (40x40x40cm). Place them beneath every post location.
In cold climates, extend footings below the frost line. This prevents heaving during freeze-thaw cycles.
“Inadequate foundations are the primary cause of structural problems. Investing time here pays off for the life of the project.”
If you lack experience, hire a specialist for this phase. You can still assemble the structure yourself later. This saves on overall costs.
Allow poured footings to cure fully. Initial set takes 48-72 hours. Full strength requires about 28 days.
Patience ensures maximum holding power. Always check for a level surface during preparation.
Use a long level or laser tool. Small deviations compound when posts go up. This can make the whole build appear tilted.
Plan for drainage by grading the area. Water should flow away from posts. Gravel beds around pads also help prevent water accumulation.
| Preparation Step | Key Action | Essential Tool |
|---|---|---|
| Site Marking | Transfer footplate locations from plan to ground | Measuring Tape, Stakes |
| Excavation & Base Prep | Dig holes, remove organic material, add gravel base | Shovel, Level |
| Concrete Pouring | Place and form concrete pads at correct depth | Wheelbarrow, Float |
| Curing & Final Check | Allow full cure, verify level and drainage | Level, Time |
Following these steps creates a rock-solid foundation. Your outdoor room will stand secure for years.
Your choice to build it yourself or call in professionals hinges on an honest assessment of your skills, time, and budget. A DIY approach offers significant cost savings and personal satisfaction. It does demand physical effort and a realistic look at your construction abilities.
Most kits come with detailed instructions for self-fitting. This assumes you have basic know-how and a helper. Your work typically won’t affect the manufacturer’s warranty.
You’ll need a comprehensive set of tools. Essential items include a tape measure, string line, and marking paint. Leveling equipment like a 4-foot level and post level is critical.
Power tools such as an impact driver and drill are non-negotiable. Safety gear like glasses and gloves is a must. Specialized items like a rivet gun for screens or a diamond drill bit for tiles may require a separate purchase.
Beyond the kit, you’ll need concrete mix for footings and appropriate anchors. Don’t forget finishing materials like stain or sealant.
| Aspect | DIY Approach | Professional Approach |
|---|---|---|
| Cost | Lower upfront, sweat equity | Higher, includes labor and expertise |
| Time Commitment | 1-5 hours assembly, plus prep and finishing | Minimal from homeowner, efficient completion |
| Skill Level Needed | Basic to intermediate construction skills | None required from you |
| Tools & Materials | You supply all items | Contractor provides everything |
“When you buy a pergola it will come with instructions allowing self-fitting, assuming you have basic DIY knowledge and one more person to help.”
Ask yourself if you’re comfortable with precise measurements and level installation. Experience with concrete work and power tool operation is a big plus. If these areas are unfamiliar, hiring a pro might be a wise investment.
Successful assembly requires at least two capable adults. Components are heavy and awkward to handle alone. This is a safety necessity, not just a suggestion.
Build time in the manual is a best-case estimate. First-timers should double it. Account for site preparation and those final touches too.
Before any digging begins, a methodical approach to marking your layout ensures everything fits perfectly. This phase turns your plan into a physical footprint on the ground.
It requires careful attention to placement, drainage, and precise measurements. A mistake here can throw off the entire build.
Choose a location with a natural slope away from your home. Avoid low spots where water collects. Poor drainage leads to wood rot and concrete problems over time.
Always call 811 or your local utility notification service first. This gets underground lines marked for safety. It’s a critical step before you break ground.
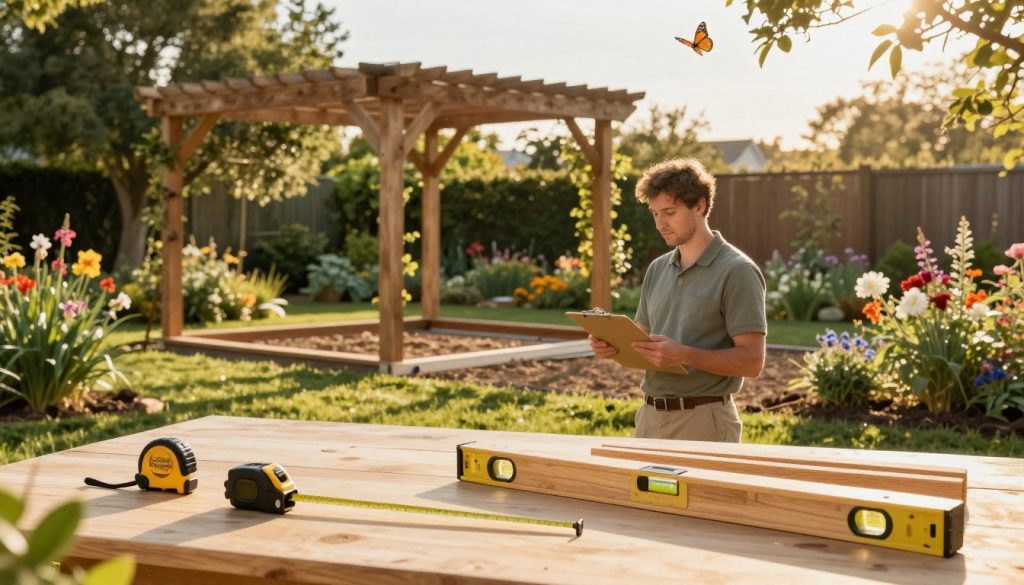
Map the sun’s path across your intended area at different times. This helps you orient the rafters for optimal afternoon shade.
Use stakes and a taut string line to outline your structure’s footprint. Batter boards at each corner help you adjust the line easily.
This creates a visual guide for your post centers. Double-check all measurements before proceeding.
Ensure the layout is perfectly square. The classic 3-4-5 method is reliable for smaller projects. For larger ones, measure both diagonals; they must be equal.
| Squaring Method | Best For | How It Works |
|---|---|---|
| 3-4-5 Triangle | Small to medium footprints | Measure 3 ft and 4 ft on perpendicular lines; diagonal must be 5 ft. |
| Equal Diagonals | Any rectangular layout | Measure corner-to-corner; both diagonal lengths must match exactly. |
Confirm adequate clearance from doors, windows, and property lines. Respect your neighbor’s sightlines to avoid future conflicts.
This careful preparation is the foundation for a stable and beautiful outdoor room.
Assembling the framework transforms your prepared site into a recognizable outdoor room. This is the most visible and rewarding part of the process.
Your posts, beams, and rafters come together to create the defining structure. Careful attention to level, square, and secure fastening is crucial throughout.
Begin by securing base brackets at your marked locations. Verify squareness by checking that diagonal measurements match before anchoring them down.
Stand each post and use a level to plumb it on two faces. Brace them temporarily before final fastening. Orient the best-looking faces of wood posts outward.
Attach beams using the bracket system in your kits. Install the two outside beams on the longer sides first. Then add header beams to complete the rectangular frame.
| Assembly Step | Primary Purpose | Essential Check |
|---|---|---|
| Set Base Brackets | Create stable foundation for posts | Verify squareness via diagonals |
| Plumb & Brace Posts | Ensure vertical alignment | Check level on two adjacent faces |
| Attach Beams | Form the primary support frame | Square the frame before final tightening |
| Install Rafters | Provide structure and shade | Maintain consistent spacing and overhang |
For optimal shade, install rafters at consistent spacing. Sixteen to twenty-four inches on center is common. Closer spacing provides denser coverage.
Center each rafter in its bracket. Maintain equal overhangs on both ends before driving in structural screws.
The most important step is squaring the frame. Measure both diagonals after beams are attached but before final tightening.
Adjust post positions until these diagonal measurements match exactly. This ensures rafters fit cleanly and the structure won’t rack.
Add top slats or purlins perpendicular to the rafters. This completes the classic look and increases shade.
Keep spacing uniform across these boards for clean shadow lines. Always keep your level and square handy to check after each major component.
Correcting alignment issues becomes much harder once subsequent pieces are fastened.
Choosing how to anchor your framework is a critical decision that affects safety and durability. Proper fastening transforms components into a permanent, load-bearing structure.
For a concrete slab, mark holes through your post base. Drill with a hammer drill, clean the dust, and set wedge anchors. Tighten them gradually while checking the post is plumb.
In areas with frost, concrete footings must extend below the frost line. Dig piers 30 to 48 inches deep. Use forms 10-12 inches wide for standard posts.
You can set the post base in wet concrete or bolt it on after curing. A 12’x12′ structure needs four piers about 12 inches wide and 42 inches deep.
Attaching to a deck requires connection to the internal beams or joists. Use through-bolts with backing plates. Never fasten only to the surface boards.
For paver surfaces, remove the units at the post locations. Excavate to stable ground and pour a small concrete pier. Then replace the pavers snugly around it.
| Surface Type | Key Method | Critical Detail |
|---|---|---|
| Concrete Slab | Mechanical wedge anchors | Keep anchors 3-4 inches from slab edge |
| Soil Footings | Poured concrete piers | Extend below local frost depth |
| Deck Mount | Through-bolt to framing | Add blocking if needed for secure surface |
In high-wind areas, add corner braces. These metal connectors join posts to beams at a 45-degree angle.
This bracing significantly increases resistance to racking and lateral movement. Always use corrosion-resistant hardware rated for outdoor loads.
Customizing your outdoor structure with the right overhead cover and add-ons elevates it from a simple frame to a true living space. This is where you tailor the design to your climate and personal style.
Open slats, or purlins, offer a classic look with good airflow. For dense shade, space these top boards 4 to 6 inches apart.
A lighter, dappled pattern comes from 8 to 12-inch spacing. Always run them perpendicular to the afternoon sun for the best coverage.
Retractable canopy options provide flexible shade. They need sturdy stainless steel eye bolts for attachment.
Ensure the fabric has a slight slope to shed water. Tensioned shade cloth is a low-maintenance choice, blocking 50-95% of sunlight.
For full rain protection, consider solid panels. Polycarbonate or metal roof panels require a minimum slope of 1 inch per foot.
Use closure strips and self-drilling screws with sealing washers. Point the UV-protective coating toward the sun.
Privacy screens attach to frame rails between posts. Keep the bottom edge 1-2 inches above the deck for drainage.
This blocks sightlines on one or more sides. Curtains can mount on stainless rods inside the beam line for a softer look.
Lighting transforms your space for evening use. Low-voltage LED tape or string lights tuck neatly along beams.
Route wiring in UV-rated conduit from a GFCI-protected circuit. This is a safe and diy-friendly project.
Consider other accessories like brackets for hanging plants or hooks for outdoor fabrics. Integrated fans and heaters extend seasonal comfort.
Each addition needs secure attachment to structural members. Your choices should reflect how you plan to use the area.
An open roof style suits mild climates with great views. Covered options are better for rainy regions.
Position privacy screens to block wind or create intimate dining sides. The right mix of top cover and accessories makes your outdoor room uniquely yours.
A meticulous final check and protective finish turn your new build into a lasting backyard asset. These steps protect your investment and keep the structure beautiful for decades.
Begin by sanding any rough edges on your posts, beams, and boards. Pay special attention to cut ends where exposed grain soaks up moisture. This area is vulnerable to rot.
Apply an end-grain sealer to all cut ends and drilled holes. This blocks water from wicking into the wood structure. It is a critical defense against decay.
Next, use a UV-resistant, mildew-inhibiting exterior stain. Apply two thin coats instead of one heavy coat. Thin applications penetrate better and dry more evenly.
Recheck all structural fasteners 24 to 48 hours after your project is done. Wood fibers compress and settle under load. Retighten bolts, screws, and bracket set screws to ensure they are snug.
Run through this final inspection checklist to confirm everything is secure and aligned.
| Checkpoint | Tolerance | Tool Needed |
|---|---|---|
| Posts are plumb | Within 1/4 inch over full height | 4-foot level |
| Beams are level | Within 1/8 inch per 10 feet | Long level or laser |
| Diagonal measurements match | Exactly equal | Measuring tape |
| Rafter spacing is even | Consistent across all boards | Spacing block |
| All connections are tight | No gaps or movement | Wrench or screwdriver |
Touch up any scratches on metal brackets with exterior enamel paint. This prevents corrosion. Keep the place around post bases clear for good drainage.
Annual maintenance like this preserves your diy work. It ensures your outdoor pergola remains a safe and inviting space for years.
Equipped with comprehensive insights, you’re now prepared to transform your backyard vision into reality. Successful outdoor construction blends careful planning, solid site preparation, and precise assembly.
Each phase builds upon the last to create a durable and beautiful structure. Understanding this complete process helps you make informed choices, whether you tackle a DIY build or hire experts.
This guide provides the information needed to approach your project with confidence. From evaluating your space to long-term care, you have a clear roadmap.
The effort yields a rewarding place for shade, relaxation, and gatherings. It can increase your property’s value for years.
Always check local codes and call before digging. These steps ensure safety and compliance.
Take the first step today. Measure your area, explore designs, and use this resource to build a pergola that becomes your personal oasis.
