Physical Address
304 North Cardinal St.
Dorchester Center, MA 02124
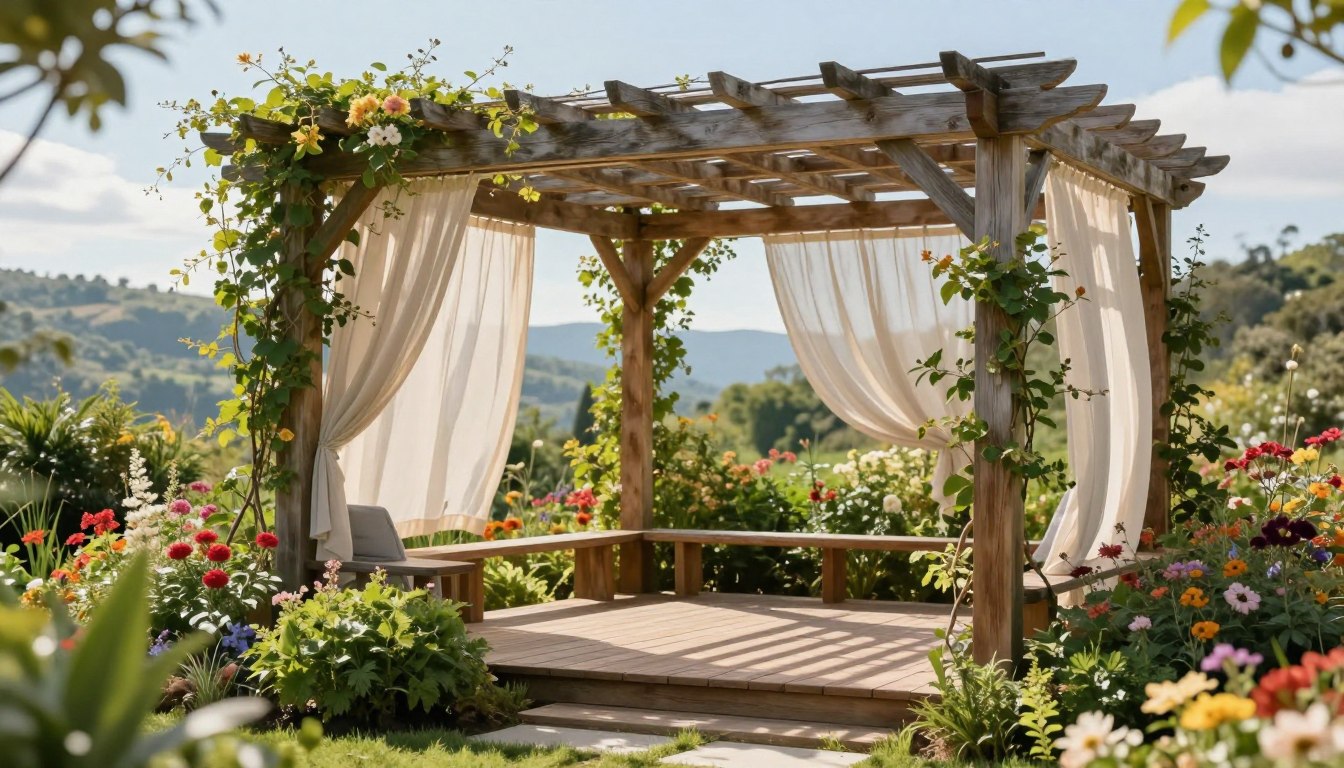
What if you could transform your bland backyard into a stunning outdoor living room in just one weekend? Many homeowners believe a project like this requires expert skills and a massive budget.
This guide will show you that’s not true. Building a beautiful shade structure is an achievable and rewarding DIY project. It can completely change how you use your property.
You will learn how to create a gorgeous focal point that provides both style and functional shade. This is perfect for relaxation or entertaining guests. It turns an ordinary yard into a personal retreat.
The process adds significant value to your home. It boosts curb appeal and creates a cool, shaded escape for hot summer days. Best of all, you gain the satisfaction of creating it yourself.
Our comprehensive guide covers everything. We start with initial planning and smart material selection. Then, we move to the building process and final customizing touches.
You’ll discover how to tackle this project at any skill level. Save money compared to hiring professionals. Get ready to build the outdoor oasis you’ve always wanted.
Your backyard holds the potential for an elegant escape, and a custom-built shade feature can unlock it. This popular diy project centers on an open framework of vertical posts and overhead beams.
Unlike a fully enclosed gazebo, this design allows for filtered, dappled sunlight. It feels like relaxing under a beautiful, leafy tree. The open lattice roof is perfect for training climbing vines.
You can adapt your plan to match your skill level. A simple freestanding design is great for beginners. Attaching it to your home offers a more advanced challenge.
The primary benefits of this undertaking are clear:
Your effort to build a pergola can vary based on size and materials. With proper planning, it’s a highly rewarding project for any homeowner.
A successful DIY pergola follows a logical, step-by-step progression from initial idea to final finish. This roadmap helps you avoid mistakes and ensures a beautiful, durable result.
The first step is always thorough planning. Decide on the exact location and size. Calculate purlin spacing and material quantities before you order anything.
Each phase builds on the last. You must complete tasks in the proper sequence for strength and looks. Rushing through any step can lead to problems later.
Here is a clear breakdown of the major phases to build a pergola:
| Phase | Key Actions | Time Estimate |
|---|---|---|
| Planning & Design | Finalize location, size, materials; create sketches; check local codes. | 1-2 days |
| Site Prep & Foundation | Clear area; mark layout; dig post holes; set concrete. | 1 weekend |
| Framing Assembly | Install posts; attach beams and rafters; secure all connections. | 1 weekend |
| Finishing Touches | Sand rough edges; apply protective stain or paint. | 1 weekend |
Following these essential steps makes the project manageable. You can complete the main build in two weekends. Allow a third for staining.
Understanding all steps upfront lets you gather tools and schedule time effectively. This careful approach leads to a superior outdoor structure.
Start your journey by carefully evaluating your yard’s layout and your personal needs. Good planning is the most important step for a successful build.
First, define the purpose of your new area. Will it be a dining spot or a quiet retreat? Use wooden stakes and string to mark the post locations on the ground.
This visual outline helps you see how the structure fits your available space. Consider sun patterns and proximity to your house.
Think about your surface. Building on an existing patio is often easiest. Always check for underground utilities before you dig.
Be honest about your skill level and available time. Weather can also cause delays. A good schedule prevents you from feeling rushed.
Break the project into clear phases. This table shows a typical weekend timeline for a DIY build.
| Project Phase | Primary Tasks | Estimated Time |
|---|---|---|
| Planning & Design | Finalize measurements, choose materials, check codes. | 1-2 Days |
| Site Preparation | Clear the area, mark layout, dig holes. | 1 Weekend |
| Framing Assembly | Set posts, attach beams and rafters securely. | 1 Weekend |
| Finishing | Sand, apply stain or protective sealant. | 1 Weekend |
Allow extra time for material delivery and unexpected steps. A paced plan leads to a better result.
Your pergola’s roof style is the crown jewel of your design, defining both its character and the quality of shade it provides. This is the enjoyable phase where your plans become a beautiful, three-dimensional reality.
Your roof’s lines should complement your home’s fascia for a polished, cohesive look. Structurally, notched lower rafters sit perpendicular to upper ones. This creates stability and defines the shade pattern.
Consider these popular options to match your goals:
| Roof Style | Shade Level | Best For | Visual Style |
|---|---|---|---|
| Traditional Open Slat | Dappled, Partial | Classic charm, vine support | Airy, timeless |
| Louvered System | Adjustable, Full | Sun control, modern spaces | Sleek, functional |
| Gabled Design | Defined, Solid | Architectural interest, rain runoff | Dramatic, structured |
“A great framework balances light and shadow, creating an inviting atmosphere without feeling closed in.”
Lattice panels add wonderful texture and extra shading areas. They also provide a perfect climbing frame for flowering vines or greenery.
For a personalized touch, consider customizing rafter ends with scalloped or angled cuts. These small details make your structure uniquely yours. Your design ideas should blend strong form with everyday function.
Before you make a single cut, gathering the correct materials and equipment is crucial for a smooth build. Your choices here determine the project’s durability, look, and your overall DIY experience. You’ll need to consider both classic and modern options.
Natural wood offers timeless beauty and is a traditional favorite. Species like cedar and redwood have natural rot resistance. Pressure-treated wood provides reliable strength at a lower cost.
Composite material is a modern alternative. It resists insects, requires little upkeep, and lasts for years. Your choice balances classic appeal with long-term convenience.
Having the right gear makes assembly faster and safer. Your essential toolkit should include cutting, fastening, and safety equipment.
For your lumber, you will require various screws. Use heavy-duty lag screws for main joints. Deck screws are perfect for securing rafters and trim.
The true strength of your outdoor structure begins with the ground beneath it. This phase turns your paper plans into a precise, physical blueprint.
Proper groundwork guarantees your framework stands straight and secure for years. It involves careful marking and leveling.
Start by placing wooden stakes at each corner of your designated area. Use a taut line between them to outline the footprint.
For accurate measurements, choose a fixed reference point. The sill of a patio door or an existing deck edge works well.
| Reference Point | Best For | Key Consideration |
|---|---|---|
| Patio Door Sill | Attached structures | Ensures alignment with house |
| Fence Line | Freestanding designs | Maintains property boundaries |
| Existing Patio Edge | On-hardscape builds | Simplifies level transfers |
Double-check all diagonals are equal. This confirms your layout is perfectly square.
Make sure your string lines are very tight and perfectly level. This is crucial for precise post offsets.
Before digging, call 811 to locate underground utilities. You must be mindful of their place.
Establish perpendicular lines from your main reference. This guarantees square corners for beam installation.
Account for ground slope and drainage. A stable base prevents future shifting or water issues.
Setting your posts correctly is the most critical step for ensuring a stable and long-lasting structure. This phase turns your marked layout into a permanent, load-bearing foundation.
Every action here impacts the entire project’s integrity. You must follow precise methods for digging and anchoring.
Always call 811 before you dig to locate underground utilities. Local codes dictate minimum depth, often at least 30 inches for freestanding builds.
Consider your local frost line and soil type. These factors determine final hole depth for stability.
Add 6 to 8 inches of gravel to the bottom of each hole. This layer is crucial for drainage.
For a clean, aligned foundation, insert cardboard forming tubes. They keep the concrete contained and your posts straight during pouring.
Position each post in its tube. Use temporary wooden stakes driven into the ground to brace them perfectly upright.
Employ a taut string line between post bases to ensure all supports are in perfect alignment. Check for level in multiple directions.
An easy trick is to attach a level to a long, straight board. Reference it against your house to match heights.
Pre-drill holes for your post base screws before final tightening. Once the concrete cures, add decorative wood plugs to the column tops for a finished look.
| Preparation Phase | Key Action | Tool or Material |
|---|---|---|
| Site Check & Layout | Call 811, verify depth per code | Measuring tape, local code guide |
| Hole Excavation | Dig to required depth, add gravel base | Post hole digger, gravel |
| Form Setting | Insert forming tubes, brace posts | Cardboard tubes, wooden stakes |
| Concrete & Alignment | Mix and pour, check level and alignment | Concrete mix, string line, level |
Assembling the upper framework is where your project takes its definitive shape. This phase focuses on the beams and rafters that create the visible canopy.
Start by verifying a perfect 90° angle. Measure diagonally between your marked corner spots.
Establish perpendicular lines from a main reference line. This ensures square corners for beam placement.
Position your main beams with the bottom edges facing up. This orientation is crucial for marking half-lap notches accurately.
You may need to cut notches in a ledger board. This allows the beams to interlock securely.
Secondary beams are named for their load resistance, not their importance. They complete the supportive grid.
Calculate each rafter’s length by adding your specific Measurement A to 1’6″. Cut them accurately for a proper fit.
Secure each rafter by driving three 3-inch deck screws at an angle on opposing sides. This creates a strong, lasting connection.
Make sure to tighten all screws completely. A snug fit prevents future movement and squeaks.
The main framework uses pressure-treated 2x8s and 2x10s. For a custom look, use a jigsaw to shape the rafter ends.
Adding decorative end cuts personalizes your structure. It turns a functional end into a design feature.
| Component | Key Measurement | Fastening Method | Primary Tool |
|---|---|---|---|
| Main Beams | Verify diagonal square | Lag bolts into posts | Level & Speed Square |
| Secondary Beams | Half-lap notch depth | 3″ exterior deck screws | Circular Saw |
| Rafters | Length = A + 1’6″ | (3) 3″ screws per side | Power Drill |
| Decorative Ends | Custom pattern | Final trim screws | Jigsaw |
Adding texture and filtered light, lattice panels are a game-changer for any backyard shade structure. These decorative pieces move your design beyond a simple open frame.
Interspersing lattice in your roof creates more shade than basic rafters alone. It offers a perfect climbing frame for flowering vines.
This design adds a quaint, cottage-style charm. The pattern can complement your home’s architecture for a cohesive look.
For a unique flair, customize your rafter ends. Use a jigsaw to cut intricate patterns from your wood boards.
These decorative end pieces turn functional boards into artistic statements. It makes your pergola feel truly one-of-a-kind.
Choose a stain that highlights the wood grain and your new shade elements. Your finished boards will be beautiful focal points.
The final phase of your project is where personality shines through. It turns a sturdy framework into your personal outdoor sanctuary.
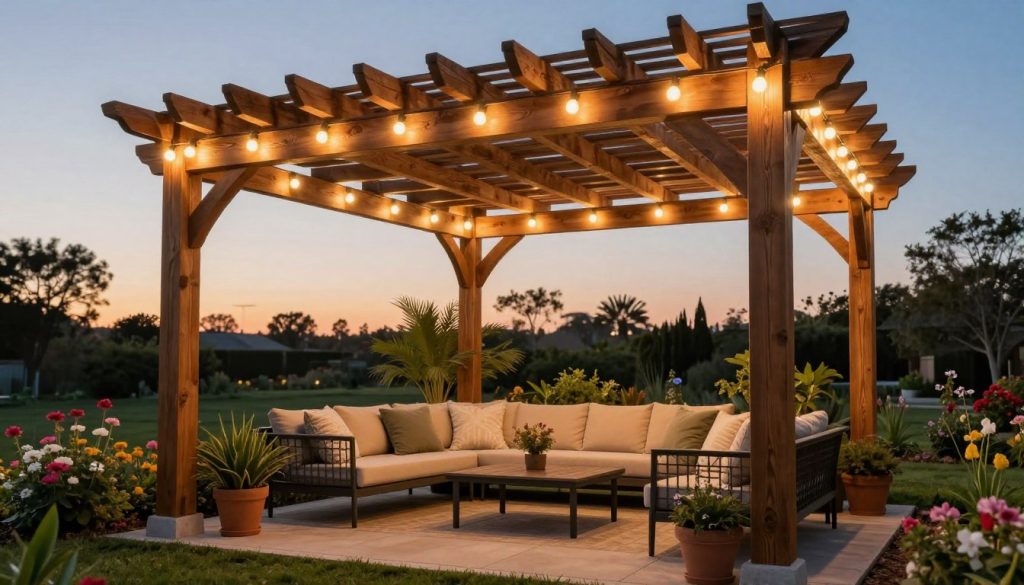
This stage focuses on ambiance and protection. Your choices here define the structure’s character and longevity.
Enhance your evenings with creative lighting solutions. Illuminate posts with stylish sconces for a warm glow.
Hang paper lanterns or string lights with Edison-style bulbs. These ideas transform your space into an enchanting retreat.
For energy efficiency, consider solar or LED fixtures. They provide beautiful light while lowering costs.
With the right lighting, your outdoor haven becomes perfect for summer nights. It extends usability for relaxing and entertaining. The end result is a magical atmosphere.
Protect your wood and enhance its appearance with a quality finish. Use exterior latex, acrylic paint, or stain for maximum weather resistance.
First, prepare the surface properly. Clean the wood with appropriate agents and consider temperature levels.
Select a product designed for thicker materials. This ensures optimal durability against the elements.
Allow adequate drying time after application. Your finish will then achieve a professional look that complements your home’s exterior. Keep the end goal of long-lasting beauty in mind.
A realistic look at costs and timelines is essential before you start any major backyard project. Tackling it as a DIY pergola build is far cheaper than hiring a professional.
Your total material cost will likely stay under $3,000. For a basic structure, you might spend between $501 and $1,000.
Plan your budget for lumber, hardware, and finishing products. Include a small fund for unexpected needs. Renting a specialty tool is smarter than buying it for one use.
Schedule your project wisely. The main build often takes two weekends. Set aside a third for staining or painting.
This is an advanced task. Your skill level will affect the time needed. Don’t rush the process.
Smart planning avoids financial stress. It ensures you create a beautiful, lasting feature for your home. You gain great value without a pro’s price tag.
Even seasoned DIYers can encounter frustrating snags when building a backyard shade structure. This section helps you troubleshoot the most frequent issues.
Focusing on alignment and leveling will save you from major headaches later. These problems can compound if not caught early.
Make sure the string line for measuring post bases is very tight and perfectly level. Any slack creates inaccurate offsets that throw off your entire frame.
Using this line to ensure posts are aligned during the build is crucial. It maintains straightness and prevents a twisted, leaning result.
A standard level should also check that all temporary braces remain flush. This stops posts from shifting out of position while you work on other areas.
Use a spirit level tool to verify every post is plumb vertically. Catch and correct problems before the concrete sets.
Other common hurdles include inaccurate cuts, material warping, and weather delays. A good plan anticipates these.
| Common Challenge | Primary Symptom | Practical Solution |
|---|---|---|
| Post Misalignment | Structure leans or twists | Use tight, level string lines; check plumb frequently |
| Material Warping | Boards won’t sit flush | Select straight lumber; acclimate wood before use |
| Weather Interruption | Work delays; wet materials | Check forecast; cover materials; have a shelter plan |
| Working Alone | Difficulty lifting beams | Enlist a helper; use temporary supports |
Preventive strategies are your best defense. Double-check all measurements before cutting. Work with a helper for large components.
Stage your work to make sure each phase is complete and correct before moving on. This disciplined approach leads to a successful diy project.
Navigating local rules is a non-negotiable part of any successful backyard upgrade. It’s not simply about how big you want to build your pergola. Local authorities typically view these as permanent structures.
Permanent additions to your property almost always need official approval. Your very first call should be to your local building or zoning office. The permit fee is a wise investment, usually ranging from $25 to $500.
Codes dictate specific requirements for your build. For example, they set the required depth for post holes, often at least 30 inches for freestanding pergolas. These rules differ by your place of residence.
Following this process protects you as the homeowner. It ensures your new outdoor place is a legal, valuable asset. Proper permits prevent future issues with insurance or selling your home.
The lasting strength of your outdoor retreat depends on two key practices: proper bracing during assembly and consistent checks afterward. This part of your project is non-negotiable for long-term security.
Stabilizing your posts is the first critical step. Temporarily tack bracing boards to each post with nails. This holds them perfectly plumb before you drive in permanent screws.
Use sturdy 2×4 or 2×6 boards for this job. Attach them with galvanized fasteners that resist rust. For challenging sites, create extra-strong braces.
Glue and nail together two 2×6 pieces. This double-layer method adds immense support. Always use a level to make sure all braces remain flush as you work.
After building, protect your investment with routine checks. Inspect the entire wood structure every three to four months.
Look for loose connections, wood rot, or insect damage. Perform a simple line-of-sight check to ensure posts haven’t shifted. This proactive habit catches small issues before they grow.
| Component to Check | What to Look For | Action to Take |
|---|---|---|
| Posts | Rot, cracks, or leaning | Reinforce or replace if damaged |
| Screws & Fasteners | Loose, missing, or rusted screws | Tighten or replace with new exterior screws |
| Wood Boards | Splitting, warping, discoloration | Sand and reseal or replace boards |
| Structural Connections | Gaps between beams and posts | Add supplemental brackets or lag bolts |
| Overall Level & Plumb | Visible sagging or tilt | Re-evaluate foundation and re-brace if needed |
Following these safety and inspection routines is an integral part of ownership. Your pergola will remain a secure and inviting space for many years.
Your newly built structure provides the perfect canvas for creating a personalized backyard sanctuary. The final touches in furniture, decor, and landscaping transform this open area into a true extension of your home.
This is your place to relax and entertain. Paying attention to every detail ensures it reflects your style and provides maximum comfort.
Start by selecting durable, comfortable furniture. Deep-seated couches, lounge chairs, or a hanging hammock invite you to unwind.
Add layers of texture with weather-resistant rugs and plush cushions. These elements make your outdoor area feel cozy and lived-in.
Incorporate decorative pieces to set the mood. Consider these simple ideas:
These touches create a warm, inviting atmosphere for your outdoor room.
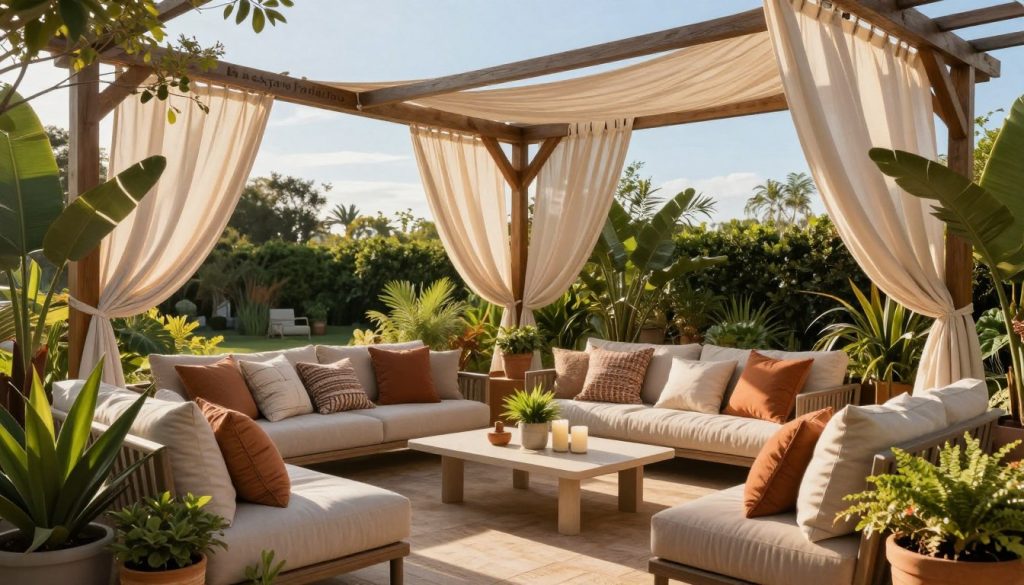
Tie your pergola into the surrounding backyard with thoughtful landscaping. A stone patio or gravel pathway defines the space and provides a stable base.
Plant flowering vines like clematis or jasmine to climb the posts. They offer natural shade and a beautiful, evolving look.
Finish with strategic shrubs or a small water feature. This completes your backyard retreat, making it a unified and picturesque outdoor space.
Standing back to admire your finished project, you’ll feel a deep sense of pride in what you’ve built with your own hands. This DIY endeavor transforms a simple backyard into a luxurious, inviting retreat.
Your new outdoor space offers lasting value and enjoyment. It’s a perfect spot for relaxing or entertaining guests for years to come.
By following the steps in this guide, you’ve proven that you can build something beautiful and functional. Enjoy your personal oasis and let this success inspire your next DIY adventure.
