Physical Address
304 North Cardinal St.
Dorchester Center, MA 02124
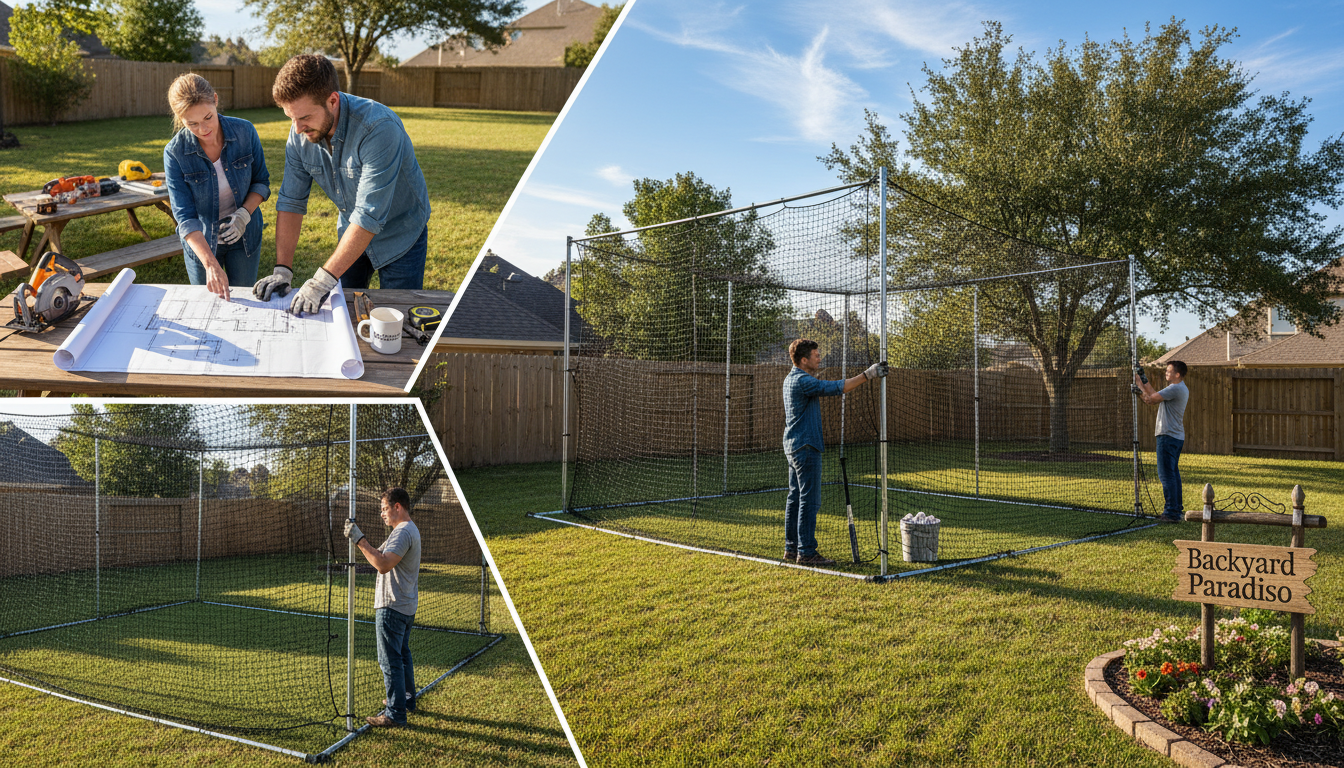
Learn the perfect batting cage dimensions for effective practice. Backyard Paradiso offers free reviews and consultations. Reach out at 888-497-9177.
What if the secret to unlocking your hitting potential isn’t just more swings, but the actual space you take them in?
I remember struggling for years until I upgraded my practice area. The right setup completely changed my training routine.
This guide walks you through everything. We’ll cover standard measurements, how to evaluate your available area, and customization options.
Whether you have a compact backyard or a full facility, there’s a perfect size for you. Let’s find it together.
Think of your practice enclosure as more than just nets; it’s a tailored training ground that directly influences your progress. I learned this the hard way. The length, width, and height of your setup are its three foundational measurements.
Each one serves a unique purpose in creating a space where you can swing freely and track the ball effectively.
You’ll typically encounter a few common sizes. For baseball, a 70-foot length is the gold standard. Softball players often thrive in a 55-foot long setup.
Younger athletes or those with limited space can use a compact 35-foot option. Width is just as crucial. A 14-foot wide area provides comfortable swinging room for most players.
It accommodates different bat lengths and wingspans. The standard 12-foot total height is smart design. About one foot of mesh sags to the ground to contain balls.
This leaves 11 feet of clear, playable space above for watching the ball’s flight path.
Proper measurements are a safety net—literally. Enough width prevents a player’s back-swing from hitting the side netting, which could cause injury or disrupt form.
Sufficient height allows the ball to travel naturally instead of being knocked down too quickly by the ceiling. This is vital for developing real-game timing.
Your enclosure’s length needs to match common mound-to-plate distances. These range from 38 feet for beginners up to 60 feet for professionals.
Getting this right means every practice swing simulates an actual at-bat. It builds confidence and muscle memory that translates directly to the field.
Your journey to better hitting starts with a simple but critical step: honestly evaluating what you have to work with.
I learned this the hard way after ordering a net that technically fit, but left no room for a pitching machine or safe walk-around access.

First, grab a tape measure. You need the total area, not just the net’s footprint. Mark out an extra three feet on all sides for clearance.
Note any obstacles like trees, fences, or utility lines. These will define your real options.
Next, match the size to the player. A younger athlete focusing on contact thrives in a shorter, 35-foot enclosure.
An advanced hitter needs 55 feet or more to track ball flight and work on power. Think about the future, too.
Is this for a growing child or a facility with varied users? For families or teams, consider if multiple people will train at once.
This might mean one long 70-foot setup or several shorter ones side-by-side.
“A practice area that’s too small teaches a hitter to be cramped. One that’s properly sized lets their mechanics breathe and develop naturally.”
The goal is the right size for your space and goals, not necessarily the largest one.
| Evaluation Factor | Key Question | Size Consideration |
|---|---|---|
| Available Space | Do you have room for clearance on all sides? | Add 6+ feet to net length & width. |
| Skill Level | Is the player working on fundamentals or game simulation? | Beginners: 35′-45′. Advanced: 55’+. |
| Number of Users | Will multiple batters practice simultaneously? | Single user: standard length. Team: 70’+ or multiple bays. |
This evaluation sets you up perfectly for the next decision: choosing between an indoor or outdoor setup.
Whether you’re indoors or out, the materials and design of your training area matter more than you might think. I’ve helped many players choose the perfect setup, and it always starts with two key decisions.
Your location dictates your options. An indoor enclosure guarantees year-round practice, which is a huge advantage. Outdoor structures often offer more space and can be more budget-friendly.
Consider the types of systems, too. Retractable nets are fantastic for multi-use spaces. Permanent, stationary frames provide a dedicated, professional-grade training zone.
The netting you choose is critical for safety and longevity. For outdoor use, I recommend nylon for its toughness. Polyethylene, especially HDPE, offers superior UV and mildew resistance.
Don’t overlook the twine gauge. Heavier gauges like #42 or #60 mean a stronger, more durable net. This is a long-term investment in quality.
For unique spaces, explore custom solutions. They ensure a perfect fit for your facility’s specific layout and training needs.
I used to think pre-made nets were my only option, until I discovered the power of a tailored solution. My own backyard had a sloping corner and a large tree. A standard batting cage wouldn’t fit.
A custom enclosure changed everything. It turned that awkward space into my personal training center.
The main benefit is a perfect fit. You can work around permanent obstacles. You can also match the size to your exact training goals.
The process starts with precise measurements. Professionals then design a frame and netting layout just for you.
Custom needs differ for homes and sports facilities. Here’s a quick comparison:
| Consideration | Backyard Setup | Commercial Facility |
|---|---|---|
| Primary Goal | Personal use, blends with landscaping | Maximize user capacity, durability |
| Common Challenges | Slopes, trees, limited width | Multiple bays, high traffic, league specs |
| Custom Features | Discreet doors, storage integration | Heavy-duty netting, partitioned lanes |

This is where Backyard Paradiso excels. They specialize in creating perfect practice environments for tricky areas.
Their team reviews your options at no cost. You’ll get expert advice on what’s possible for your site and budget.
Call 888-497-9177 for a free, no-pressure chat. It’s the easiest first step toward your ideal cage.
The real work begins after you’ve chosen your perfect size—turning that box of parts into a reliable practice sanctuary. I’ve set up several enclosures over the years. With a methodical approach, it’s a manageable weekend project.
First, lay out all components. Verify you have every pole, connector, and clip. Assemble the frame on level ground.
Follow the manufacturer’s diagram closely. Tighten all connections securely. A loose frame compromises safety.
Attach the batting cage net starting at one corner. Work your way around, clipping evenly. Maintain consistent tension to prevent sagging.
Finally, anchor the structure. Use ground stakes or weighted plates. This step is non-negotiable for stability, especially outdoors.
Your batting cage system needs regular care. I recommend a quick inspection each month. Look for frayed netting or bent poles.
Clean nets with a soft brush and occasional hose-down. This removes dirt and prevents mildew. Pay special attention to connection points.
For outdoor setups, use a protective tarp in harsh weather. Store removable parts indoors during the off-season. A little prevention saves major repair costs.
| Task | Key Action | Recommended Frequency |
|---|---|---|
| Frame Inspection | Check for loose joints & corrosion | Monthly |
| Netting Check | Look for tears & UV damage | Before each use |
| Deep Cleaning | Hose down & brush debris | Seasonally |
| Anchoring Verify | Ensure stakes/weights are secure | After heavy wind |
Address small issues immediately. A quick stitch on a minor tear prevents a total batting cage net replacement. Consistent care ensures your batting cage setup performs safely for years.
The ultimate convenience for any serious player isn’t found at a public facility—it’s waiting right outside your door. I found that stepping into my own backyard to practice transformed my consistency. It creates an elite, focused environment tailored just for you.
Turning this vision into reality hinges on two practical steps: measuring your area and being honest about your budget.
First, measure your space thoughtfully. Don’t just note length and width. Consider sun glare, existing trees, and neighbor proximity. This finds the optimal spot for your baseball batting cage.
Your budget directly influences the size and features you can choose. Everyone wants the largest setup, but a realistic plan prevents overextension. A pre-made kit is a fantastic value for most yards, saving significant time and money.
Plan for key accessories from the start. A pitching machine enables solo sessions. Using the right balls, like dimpled ones, protects your net. Think of this as a long-term investment in player development that pays off with unlimited, convenient reps.
With the insights you’ve gained, the dream of a custom practice setup is within easy reach. You now understand standard batting cage dimensions, material choices, and installation steps.
Choosing the right size isn’t about a universal fit. It’s about matching the enclosure to your space, goals, and budget for truly transformative training.
This decision fuels player development for years. I’ve seen how a proper practice area builds confidence and skill like nothing else.
Don’t let planning feel overwhelming. The team at Backyard Paradiso makes it simple. Call 888-497-9177 for a free consultation to review your batting cage options.
Your perfect training zone is waiting. Take this step, and you’ll be maximizing your potential at home or your facility sooner than you think.
